Verosoft Account | Getting Started
Introduction
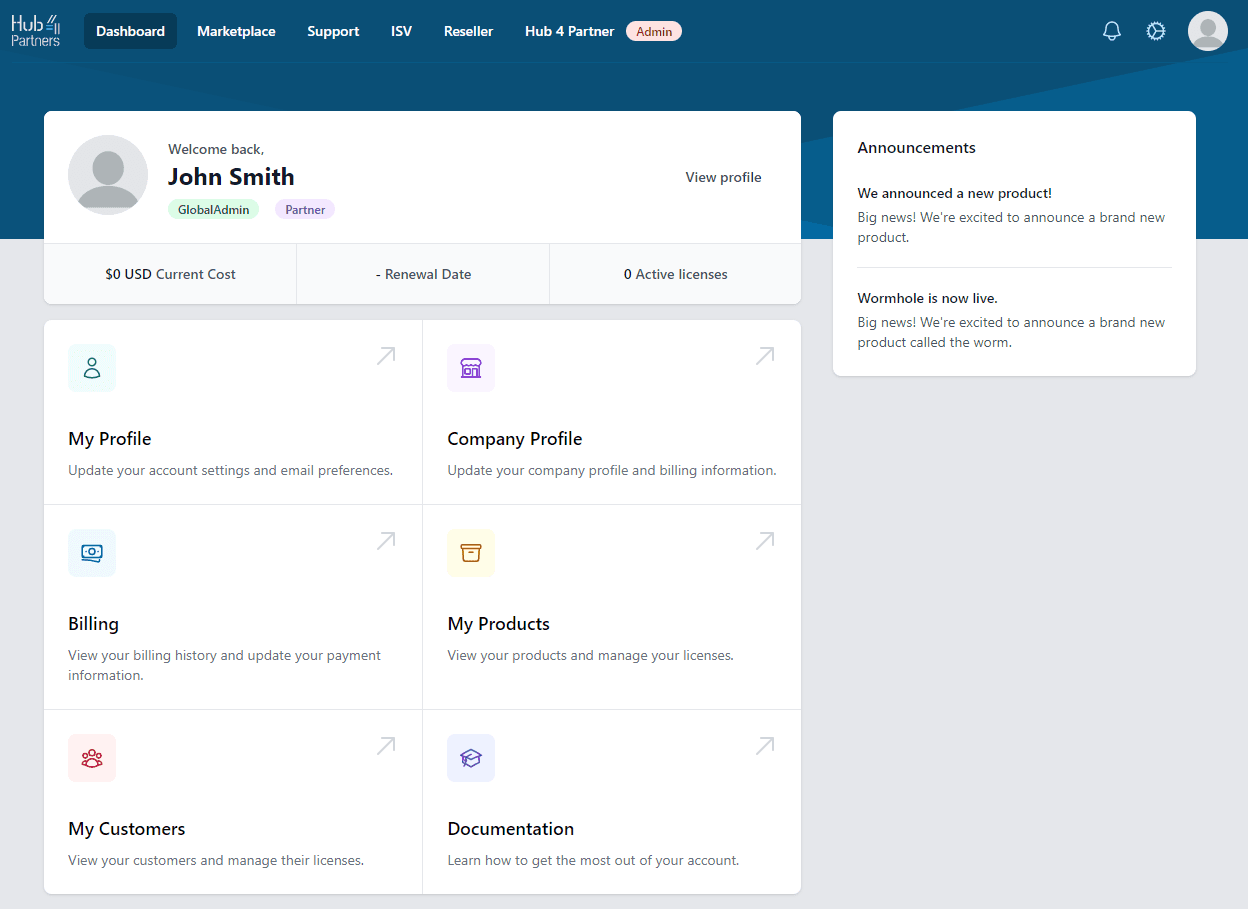
Verosoft accounts allow organizations that use Microsoft Dynamics 365 Business Central to self-manage all their Verosoft product subscriptions from one centralized, easy-to-use platform.
To trial any of Verosoft software products, you must first create your free Verosoft account using your Microsoft 365 email address.
By default, the creator of the Verosoft account will automatically be assigned the account Administrator role. The Administrator role can be assigned multiple users once the account has been created.
From your Verosoft account, you can:
- Trial, purchase, self-manage and cancel Verosoft products and subscriptions.
- Install Verosoft products into your Business Central environment with no setup.
- Purchase and manage support for all your Verosoft products.
- Manage your billing and payment for all your Verosoft products.
- Access Verosoft’s Help Center.
Prerequisites
To create a Verosoft account, you require a professional Microsoft 365 account and access to a running instance of Business Central online or on-premise.
Create a Verosoft Account
Please note that there can only be one Verosoft account per tenant ID. When you create your Verosoft account, we do the following for you:
- Assign the account creator as the administrator of the account. The Administrator role can be assigned to multiple users once the account has been created.
- Populate your personal and business profile information with your default Dynamics 365 tenant information.
- Use your Azure Active Directory configurations for conditional access, such as Two-factor Authentication (2FA).
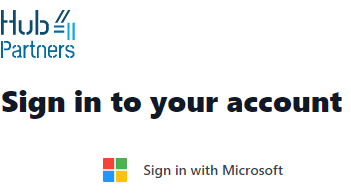
- To create a Verosoft account, click here: Create a Verosoft Account
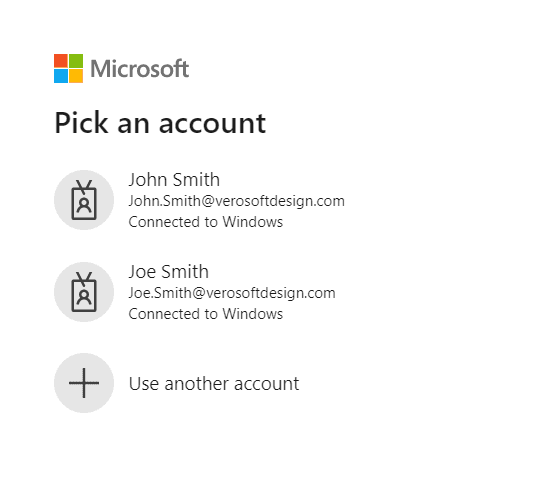
- Click "Sign in with Microsoft".
- Enter your professional Microsoft 365 email.
- Proceed with your configurations for conditional access.
- Your account is now created.
Note*: If the organization’s Verosoft account already exists, account users with administrator permissions will receive a New User Creation Request email, which they can accept or decline. If the New User Creation Request is accepted by your administrators, you will be notified via email that your New User Creation Request has been approved with your assigned user role. If the New User Creation Request is declined by your administrators, you will be notified via email that your New User Creation Request has been denied.
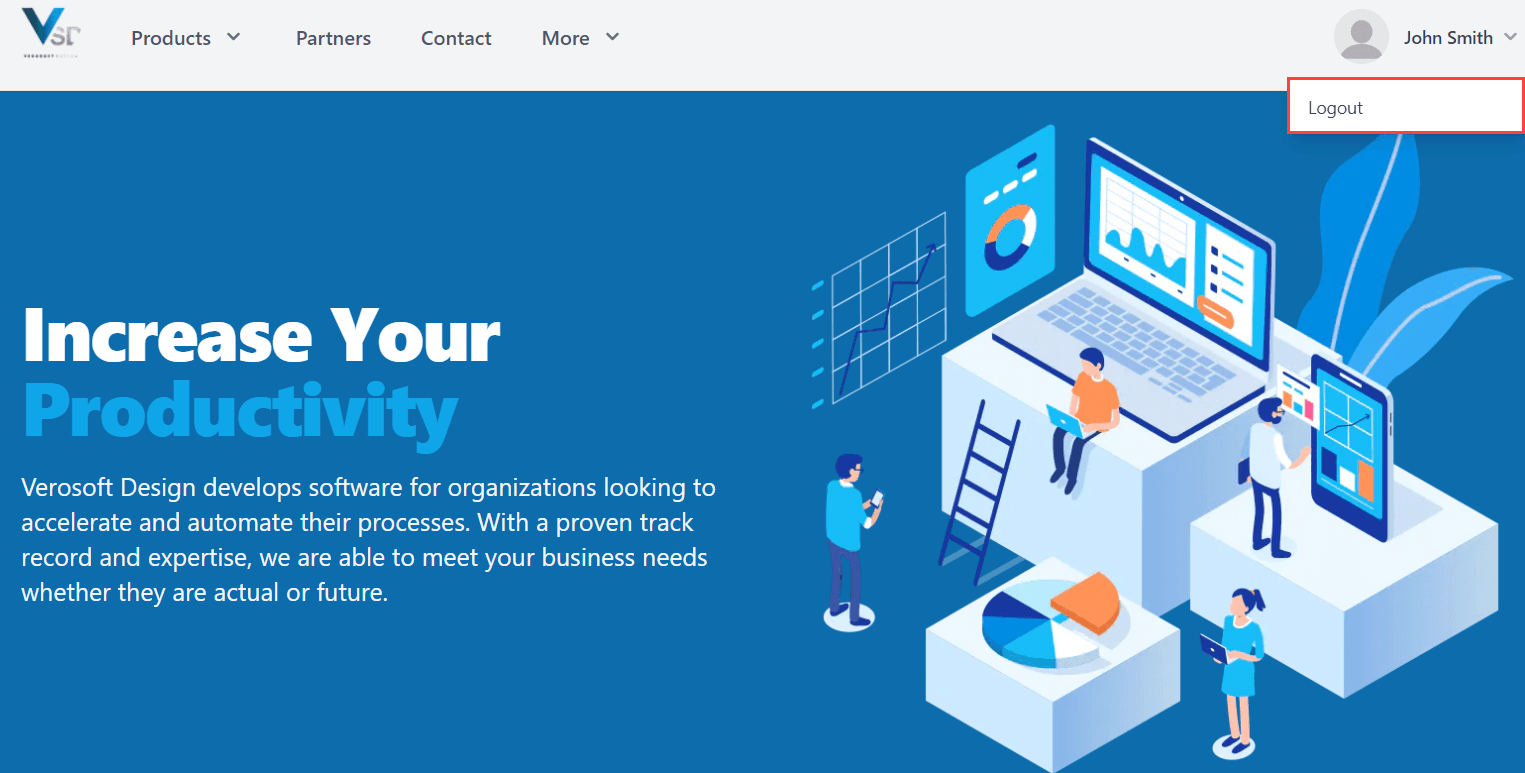
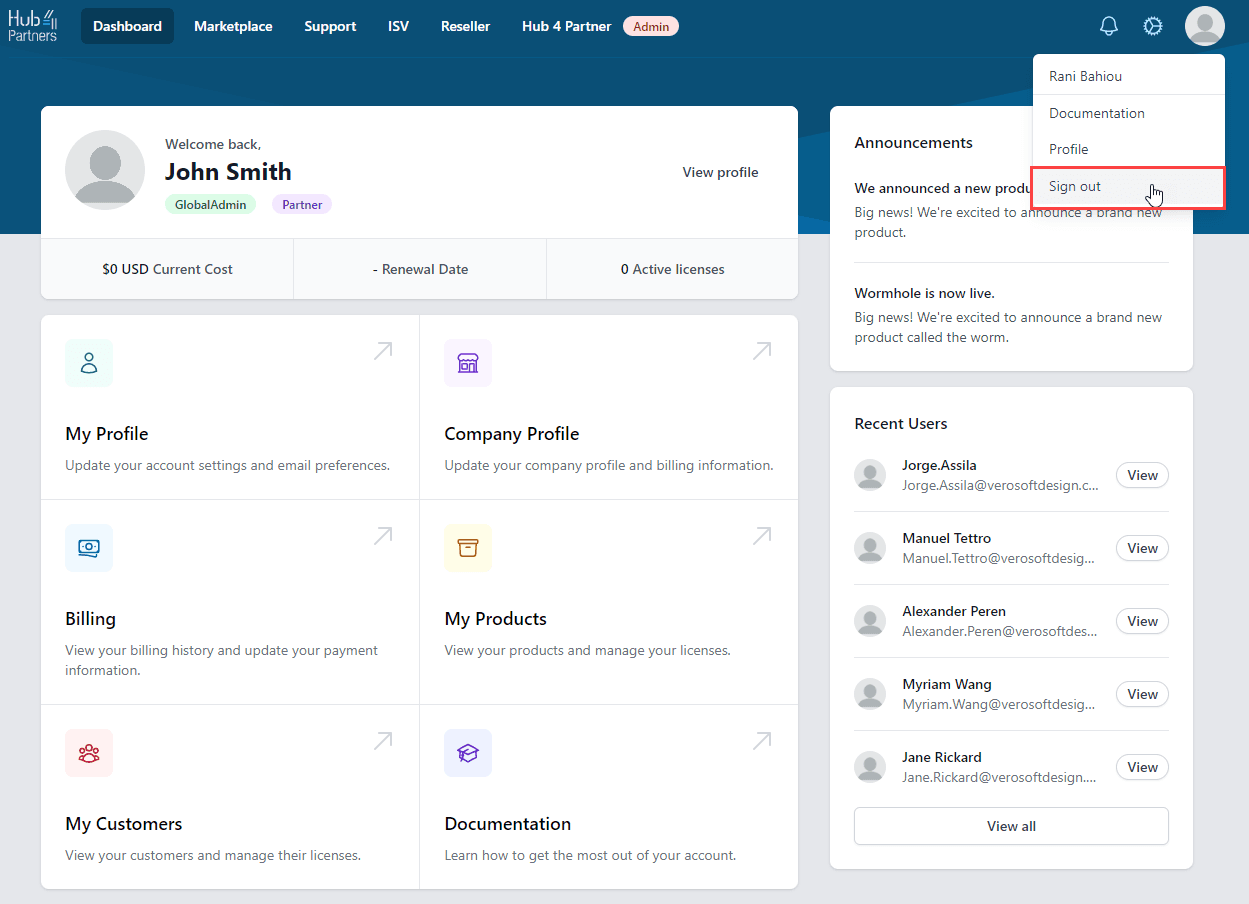
- To log out, click on the picture icon on the top right corner of your screen and click "Sign out".
To sign back into your account, go on the Verosoft Website. On the top right corner, click "Sign In".

To log out of your account from the Verosoft website, click on the dropdown menu located in the upper right corner next to your name and click on "Logout".